Bread Making Tools: Essential (and Luxurious) Companions on the Bread Journey
There’s something sacred about baking bread with your hands. The rhythmic kneading, the flour-dusted counters, the quiet anticipation of rise and rest. But let’s be honest—having the right bread making tools doesn’t just make the process easier. It can elevate the entire experience from chaotic to calming, from “Will this even rise?” to “This might be the best loaf I’ve ever made.”
Over the years, I’ve worked with the bare minimum—my hands, a bowl, and a hope. But as my bread journey deepened, I discovered tools that felt less like gadgets and more like trusted companions. Here are the ones that deserve a spot in your kitchen, whether you’re just getting started or ready to splurge.
The Essentials: Tools That Earn Their Place
1. A Digital Kitchen Scale
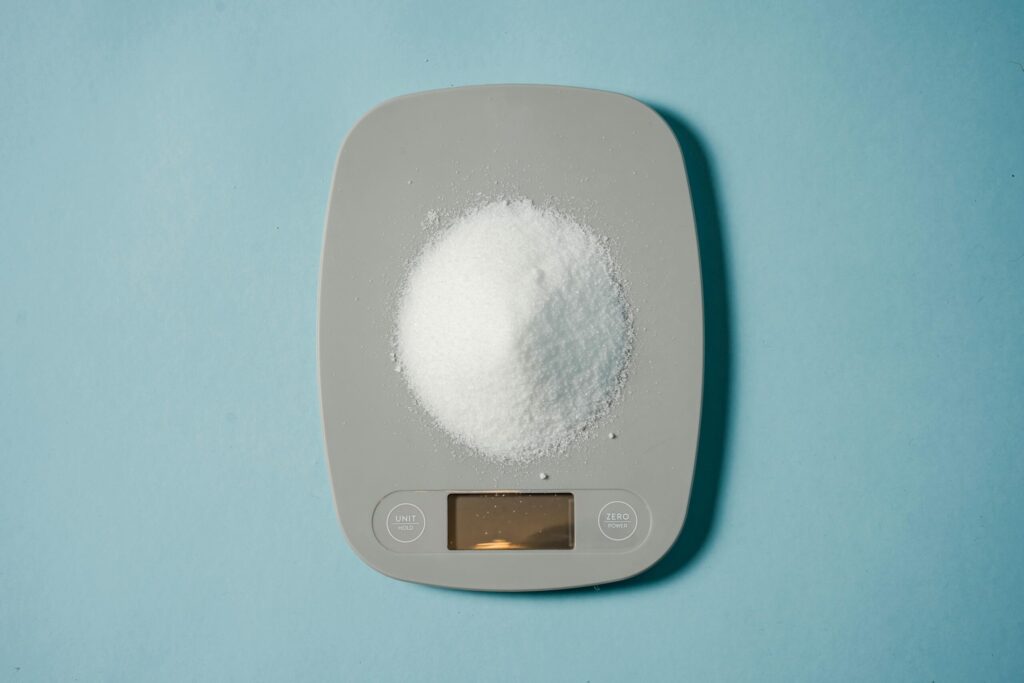
This is the single most important tool for consistency. With a digital scale, you’ll stop guessing how packed that cup of flour should be—and start measuring by weight.
Whether you’re working with 500g of flour or 10g of salt, precision helps your dough ferment correctly and turn out consistently delicious.
It also makes it easier to scale recipes up or down. Bonus: it’ll help with all your other baking projects too.
Look for: A model with gram measurements, a tare function, and a flat surface that’s easy to wipe down.
2. Mixing Bowls (Preferably Clear Glass or Stainless Steel)
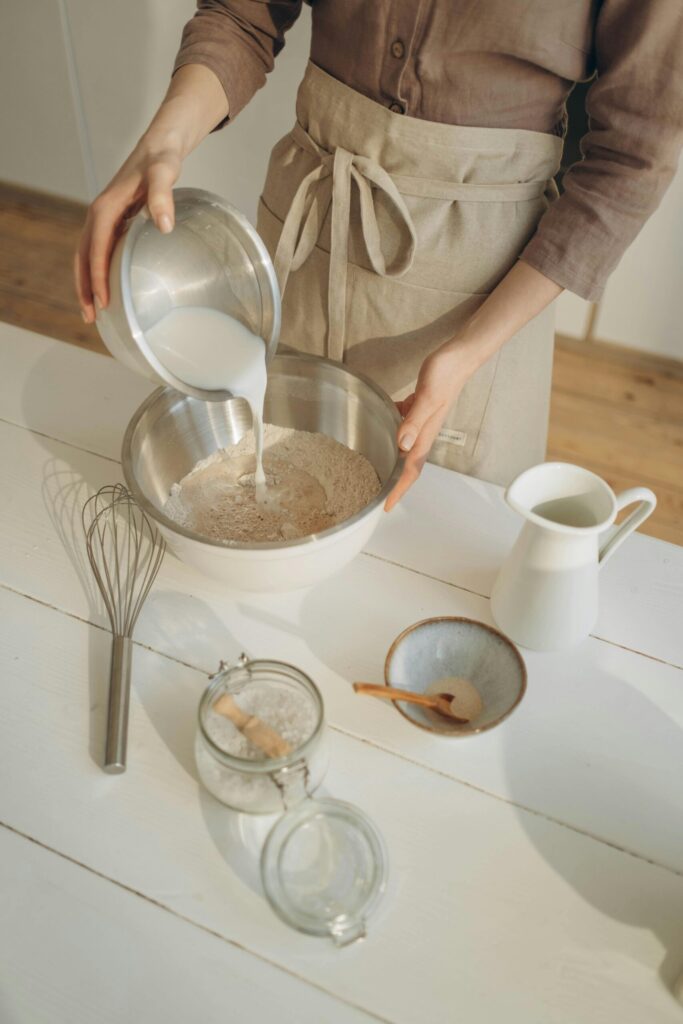
You’ll want a few bowls in different sizes, but having at least one deep, wide bowl is key for mixing and first-rise proofing.
Glass bowls let you see how far your dough has risen, and stainless steel stays cool and is virtually indestructible. They’re also great for autolyse (that pre-mix resting stage) and stretch-and-folds.
Tip: Pick one with a lid or pair with a reusable cover to trap moisture during bulk fermentation.
3. Bench Scraper
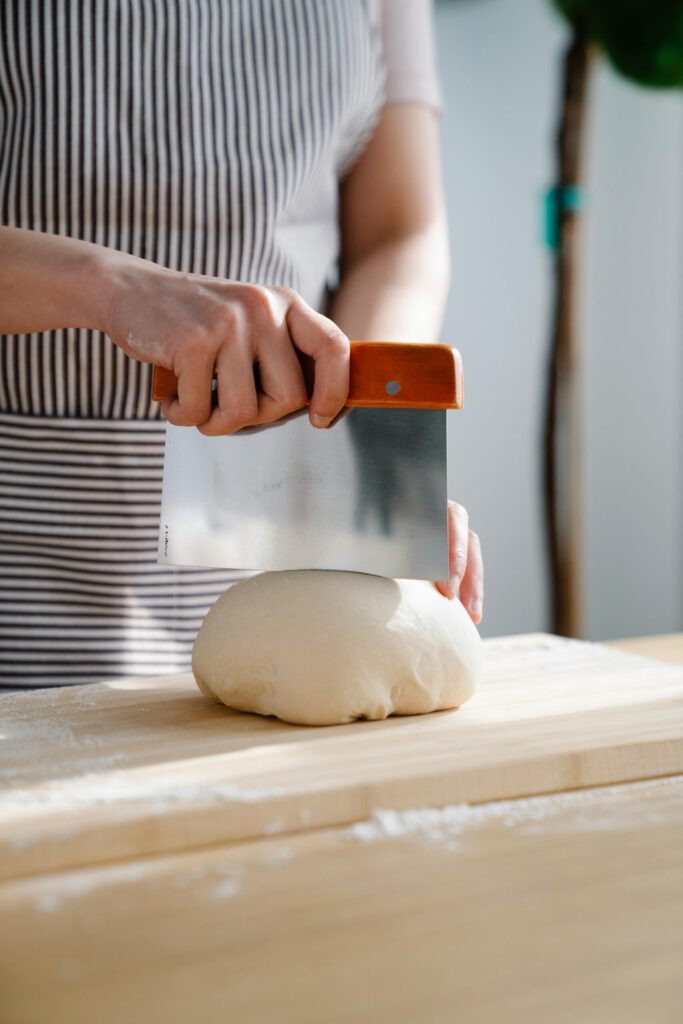
Simple, inexpensive, and so incredibly helpful. A bench scraper helps lift sticky dough off the counter without tearing it, divide dough for rolls or baguettes, and clean up leftover flour and dough bits in one satisfying swoop. It keeps your hands in the dough and the mess under control.
Extra use: Handy for shaping loaves, lifting dough into pans, and making clean cuts when dividing.
4. Dough Whisk or Danish Whisk
With its spiral design, a Danish whisk cuts through thick doughs easily without getting gummed up like a spoon. It’s a go-to for mixing no-knead doughs or getting your ingredients combined quickly before a long fermentation.
Why it’s better than a spoon: Less resistance, less sticking, and a more thorough mix with fewer flour pockets.
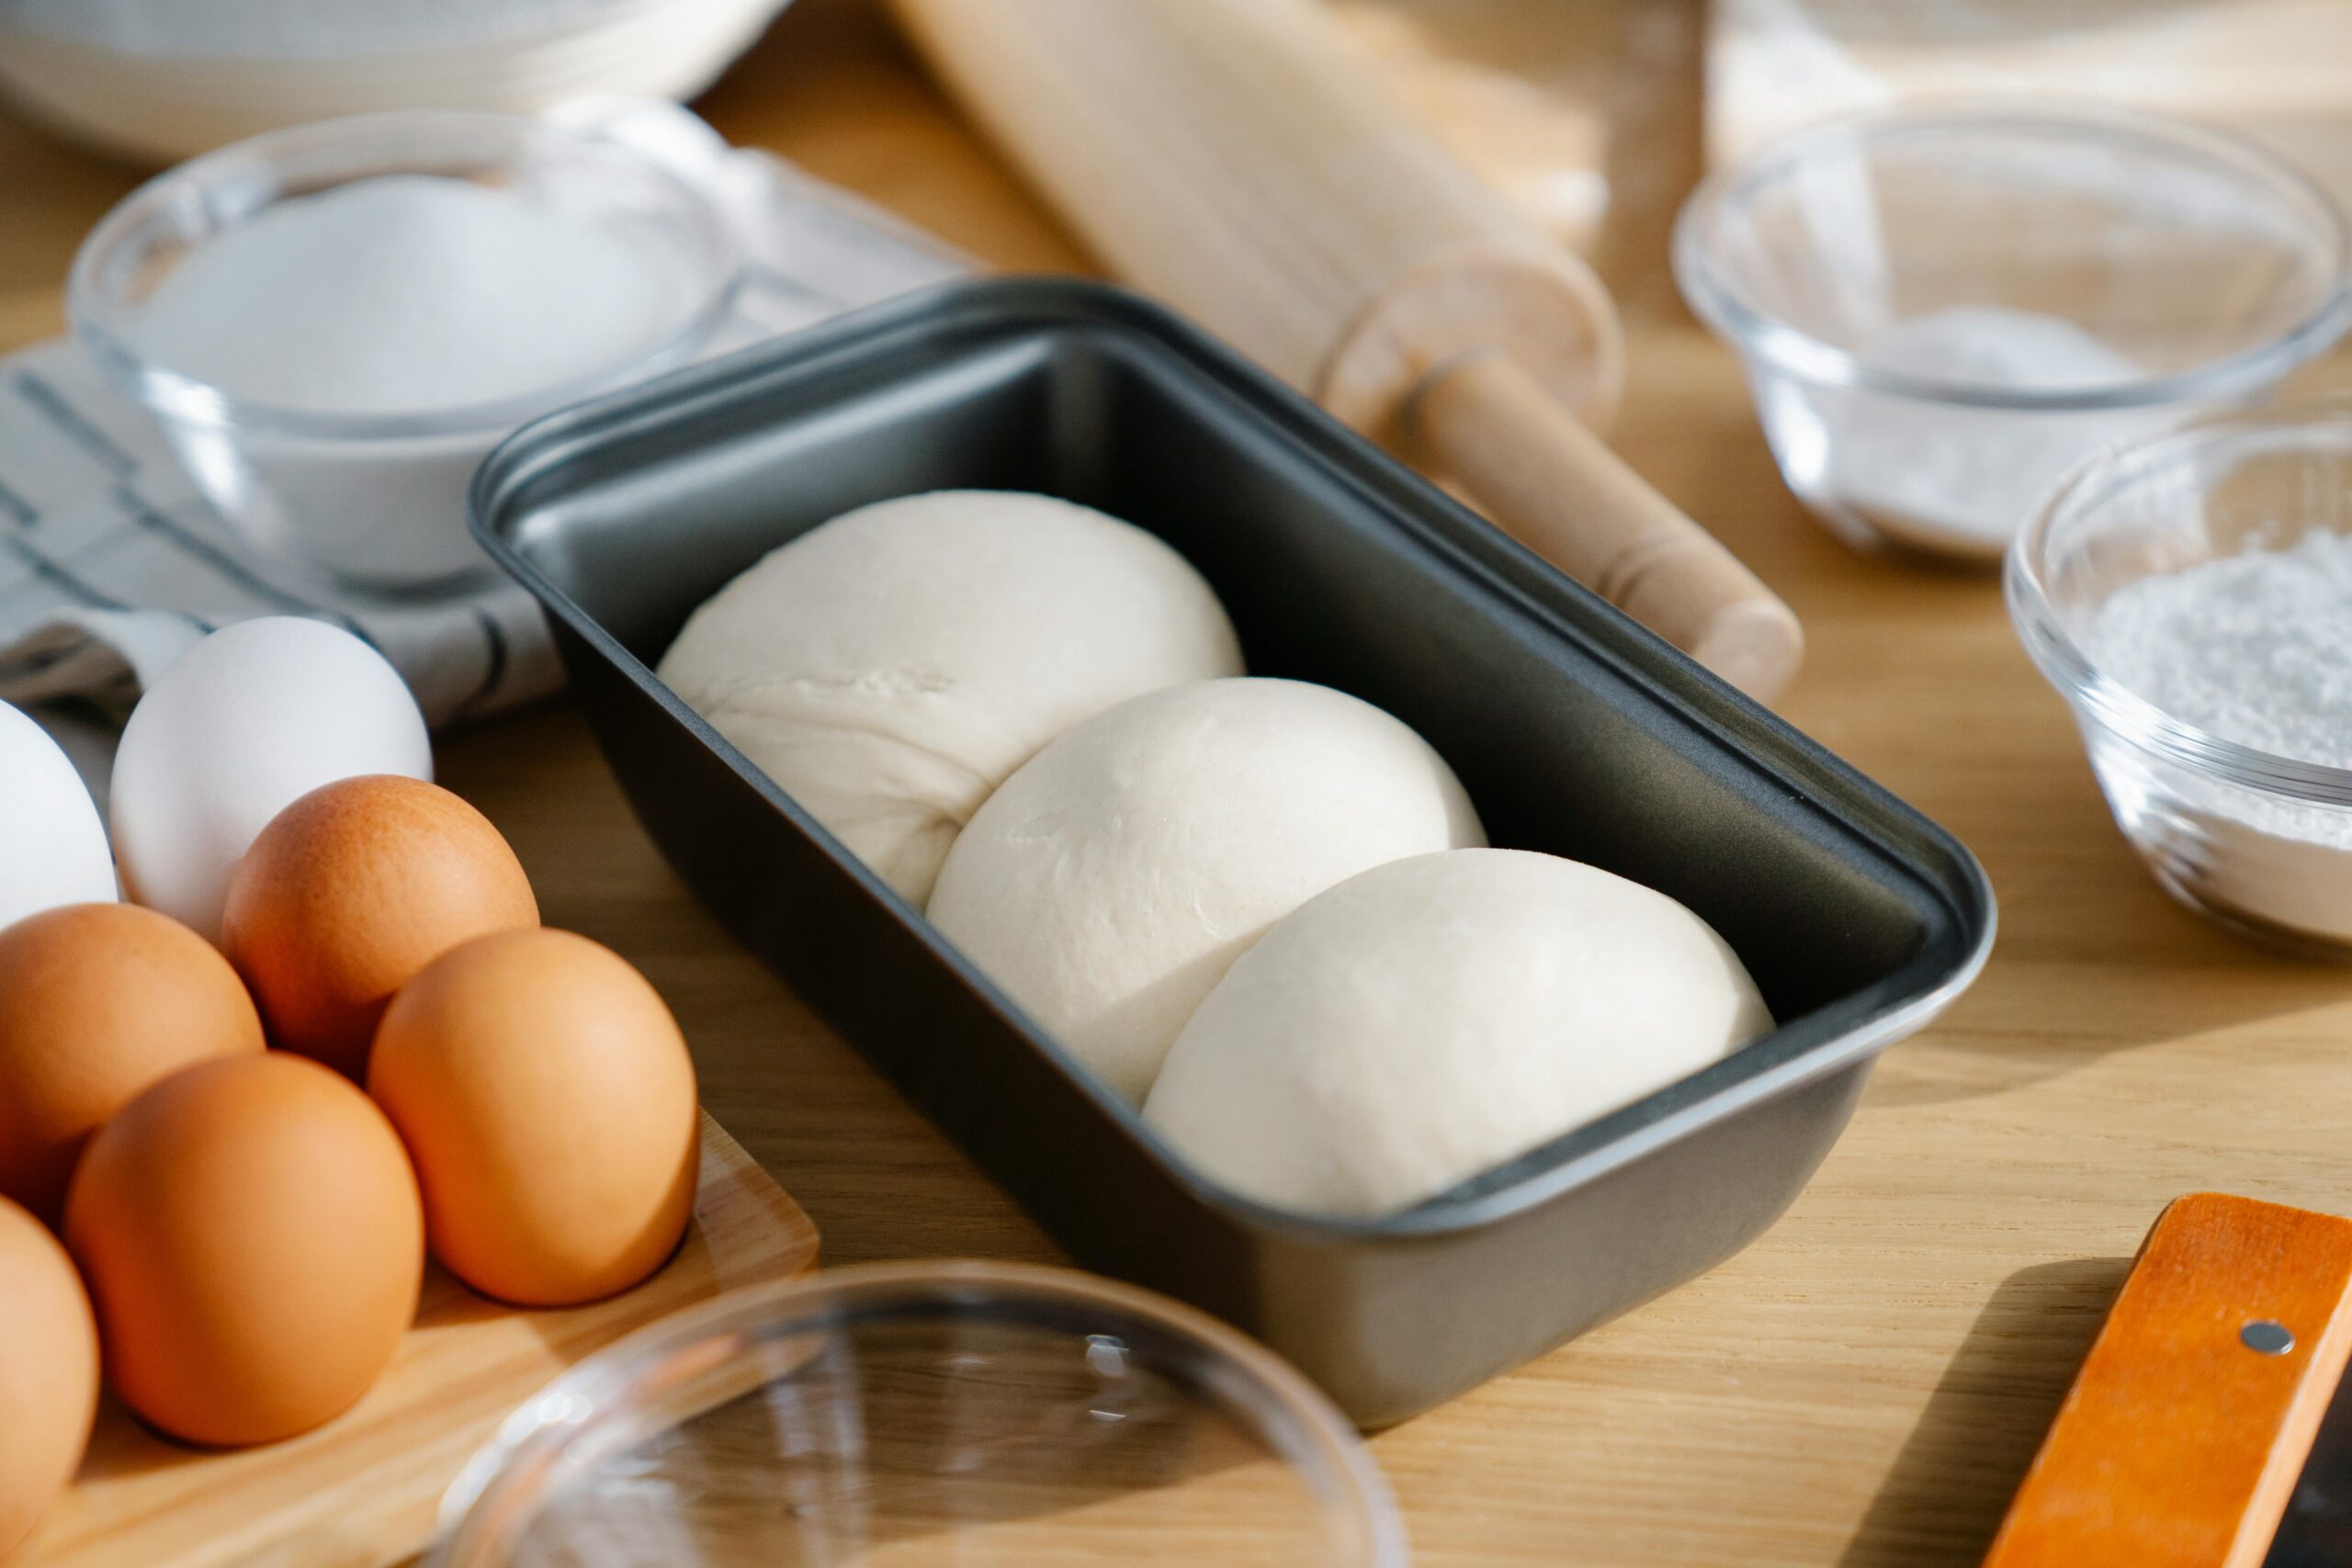
5. Proofing Container or Dough-Rising Bucket
Clear, straight-sided containers help you actually see when your dough has doubled in size. Many come with measurement marks or airtight lids, which help you judge fermentation more accurately and prevent your dough from drying out.
Alternative: A large glass jar or clear plastic food container also works. Just make sure it’s deep enough for expansion.
Mid-Tier Upgrades: Tools That Refine Your Loaf
6. Banneton (Proofing Basket)

Made of coiled rattan or lined fabric, bannetons help your dough hold its shape during the final rise. They’re perfect for rustic boules and bâtards. The ridges also leave behind beautiful patterns that show up when baked.
Use with: A light dusting of rice flour to prevent sticking—it’s finer than all-purpose and clings to the liner better.
7. Lame (Bread Scoring Tool)
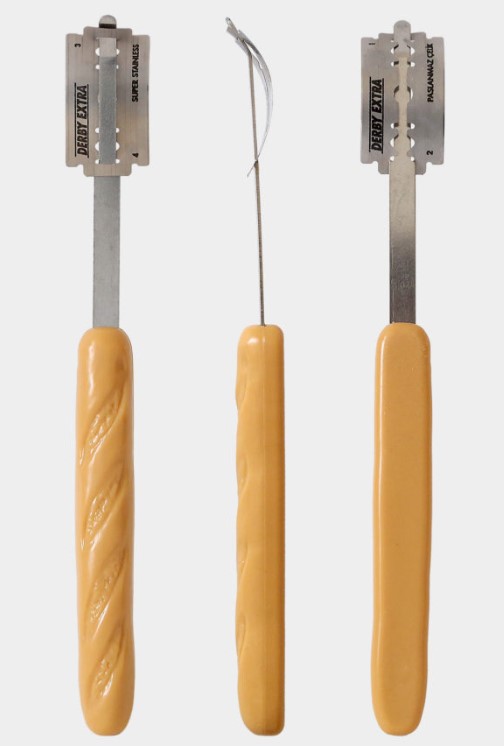
A lame is a handle that holds a curved razor blade for slashing dough just before baking. This isn’t just decorative—the cuts control how the bread expands in the oven (called “oven spring”) and prevent blowouts.
Beginner tip: Start with simple slashes (a single line down the center) and get more artistic as your confidence grows.
8. Dutch Oven
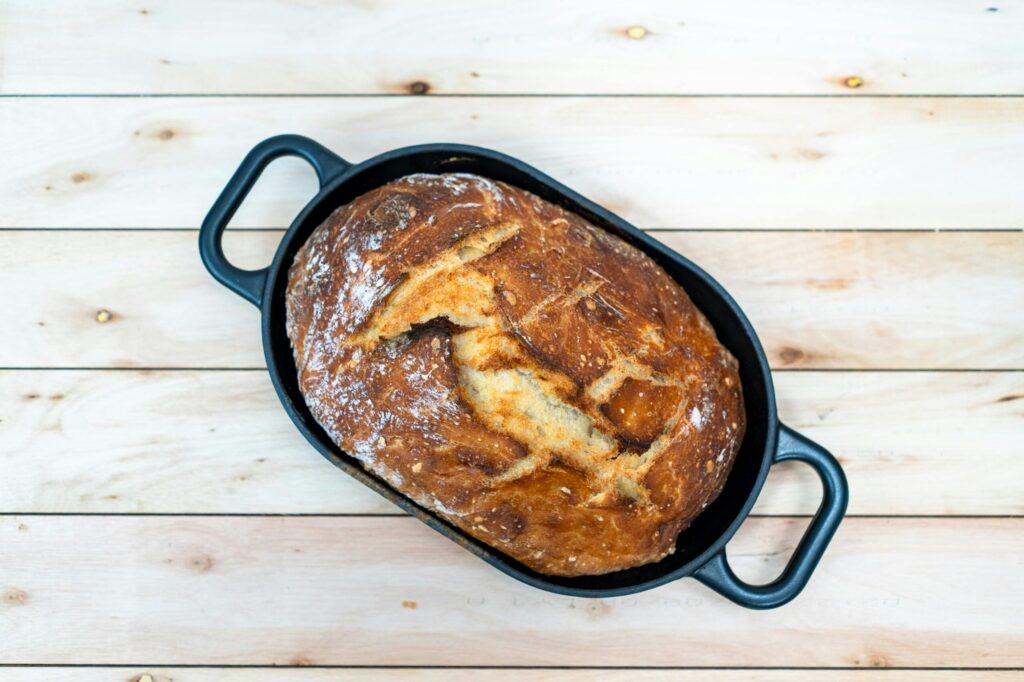
The secret to a crusty, bakery-style loaf? Steam. A Dutch oven traps the moisture released from the dough during baking, creating the perfect environment for that crispy, blistered crust. Cast iron models hold heat beautifully and come in all sizes.
Not just for sourdough: Great for rye, whole wheat, and even focaccia—just remove the lid halfway through baking for color.
Luxurious Add-Ons: For the Bread Dreamer
9. Bread-Specific Thermometer
No more guessing if your loaf is “done” in the center. Stick a digital thermometer into the thickest part—most lean loaves are done around 200–210°F, while enriched or high-hydration breads might finish a little lower.
Why it matters: Underbaked bread can be gummy inside, and this little tool saves the guesswork.
10. Brod & Taylor Folding Proofer (Or Similar)

This fold-up box keeps your dough at the perfect proofing temperature—especially handy during winter or in cool kitchens. It speeds up fermentation without compromising flavor and folds flat when not in use.
Bonus use: Many bakers also use it to temper chocolate, make yogurt, or proof other baked goods like cinnamon rolls.
Final Crumb
At the end of the day, you don’t need all the tools. Bread has been made for centuries with hands, heat, and heart. But the right bread-making tools can support your rhythm, reduce frustration, and invite you deeper into the joy of the process.
Start where you are. Add tools as you go. And remember—it’s not the gear that makes the bread. It’s you.