A Super Simple Sourdough Recipe
This is a streamlined sourdough recipe aimed at balancing ease and results. It uses minimal ingredients and gentle techniques, but with enough detail to help you succeed.
A Simple Recipe for Sourdough Bread
Ingredients (makes 1 loaf)
- 500 g bread flour (you may substitute up to ~10 – 20% whole wheat)
- 400 g warm water
- 100 g active sourdough starter (100% hydration, recently fed, bubbly)
- 10 g fine sea salt
Tools You’ll Want
Here are the tools that make this recipe easier (though some are optional or can be substituted):
- Digital kitchen scale — precise measurement is crucial in sourdough.
- Large mixing bowl — for combining dough and doing folds.
- Bench scraper / dough scraper — for handling sticky dough, dividing, and cleaning counters.
- Dough whisk or spatula — for mixing the initial shaggy dough.
- Proofing basket (banneton) or bowl lined with floured cloth — helps dough keep shape during final proof.
- Lame or sharp razor / blade — for scoring the dough just before baking.
- Dutch oven or heavy lidded pot — traps steam and gives you better crust and oven spring.
- Oven thermometer or digital internal thermometer — to ensure correct baking temp or final internal doneness.
- Cooling rack — lets air circulate under the loaf while cooling.
Many sourdough recipes and guides mention using a Dutch oven (or combo cooker) for steam and rise control.
Step-by-Step Instructions (with “Watch for” Notes)
1. Feed your starter ahead of time
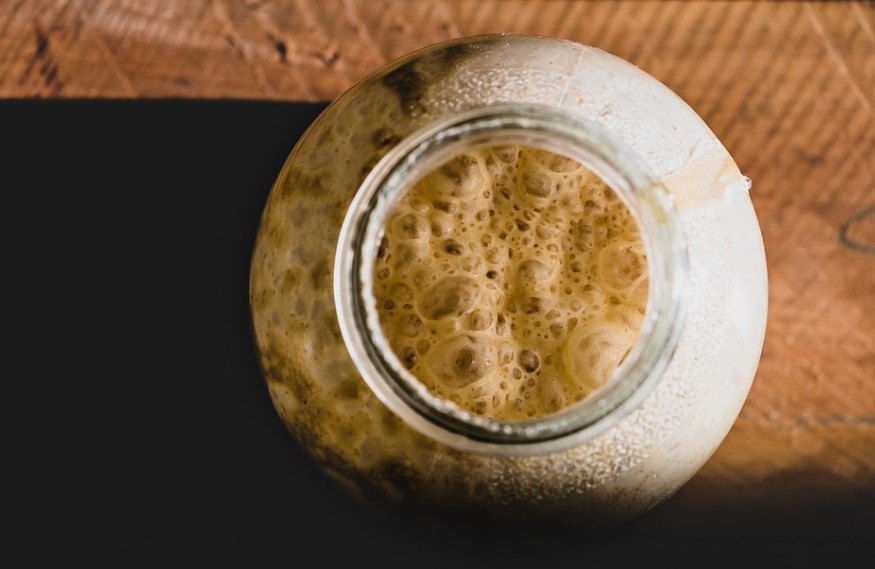
Make sure your starter is active and bubbly, at its peak. Do this several hours before mixing. A good float test (a spoonful of starter floating in water) helps confirm readiness.
Watch for: If your starter is past peak and collapsing, the dough may ferment poorly. Don’t use it too early or too late.
2. Mix & Autolyse
In your bowl, combine flour and water (reserve a little water if necessary) and then add starter. Stir to form a rough, shaggy mass. Cover and let rest about 30 minutes (this is autolyse).
Watch for: Don’t overmix now, just hydrate the flour. Also, if your dough seems too stiff, add a small splash of water; too slack and it’ll be hard to shape.
3. Add salt & Incorporate
Sprinkle salt over the dough and gently fold it in until well distributed. Use wet hands or a spatula to help.
Watch for: Make sure there are no dry pockets of flour left. But be gentle, don’t deflate the dough unduly.
4. Bulk Fermentation with Stretch & Folds
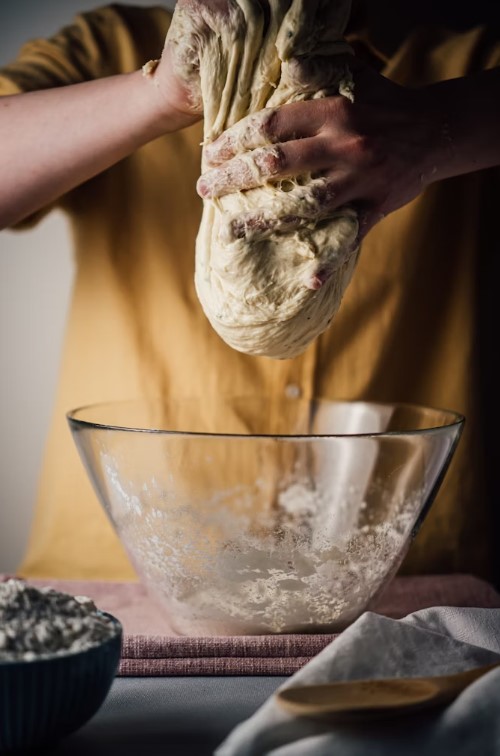
Over 3–4 hours, perform 3–4 sets of stretch-and-folds every 30–45 minutes. To do this: wet your hand (or dip in water), grab one side of the dough, stretch upward, and fold over. Rotate and repeat around the bowl. After the last fold, let the dough rest until it shows a good rise.
Watch for: Don’t skip folds entirely, as they help build structure. But also don’t overdo them. The dough should feel gradually stronger and hold shape better as you proceed.
5. Preshape & Bench Rest the Dough
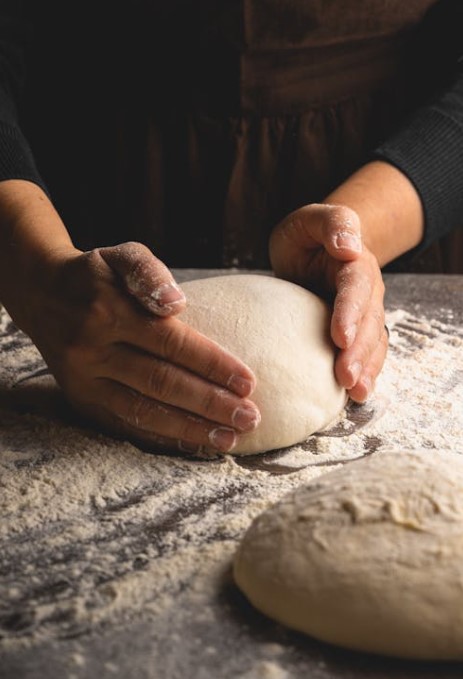
Gently turn the dough onto a floured surface and loosely shape it (round or batard). Let it rest for ~20–30 minutes to relax.
Watch for: Don’t force tight shaping too early—if it resists, let it rest more. The dough needs to relax for a good final shape.
6. Final Shaping & Proofing
Shape the loaf into its final form and place it seam-side-up into a well-floured proofing basket (or bowl with cloth). Let it rise until it feels airy, holds its shape, and gives a slow spring-back when poked lightly. You can do this at room temperature (1–2 hours) or cold-proof (refrigerate overnight) for a deeper flavor.
Watch for: Overproofing is a common issue. If the dough sags or collapses, it’s overproofed. If it’s still tight and dense, underproofed. Timing depends heavily on your kitchen temperature.
7. Preheat & Bake

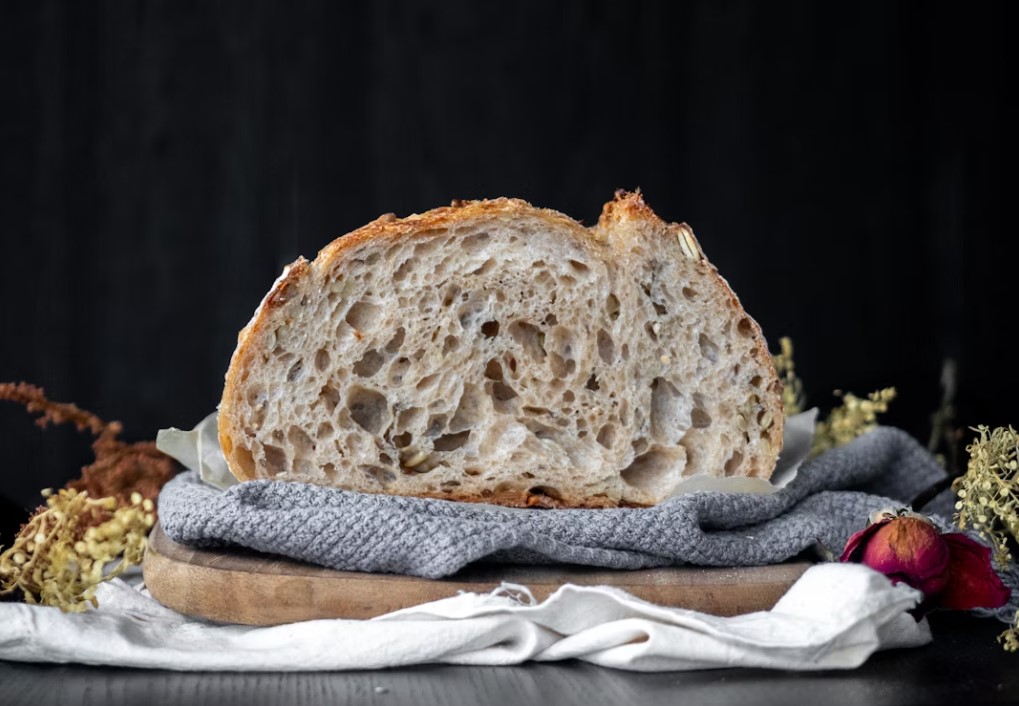
Preheat your oven (with the Dutch oven inside) to ~450 °F (232 °C) at least 30 minutes before baking. Gently turn your loaf (seam-side down) onto parchment, score it, and place it in the hot pot. Bake with lid on for ~20 minutes, then uncover and bake an additional ~20–25 minutes (or until the internal temperature reaches 200–210 °F / ~93–99 °C).
Watch for: Scoring too shallow or in the wrong direction can make your loaf split unpredictably. Also, if you bake too cool or remove the lid too early, the crust may darken unevenly.
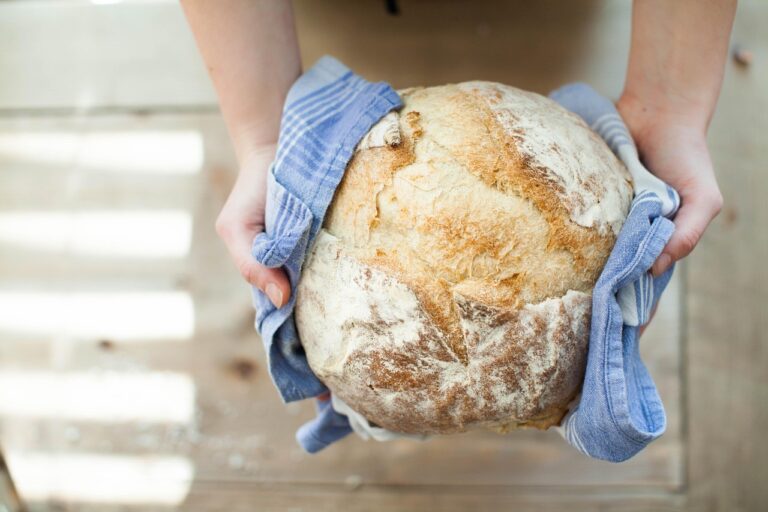
8. Cool Thoroughly
Let the loaf cool on a rack for at least one hour (preferably longer) so the interior crumb structure can set properly.
Watch for: Slicing too early results in a gummy texture because steam is still present inside. Give it time.
Why These Steps (and Tools) Matter
- A proper autolyse and gentle mixing help gluten develop without overworking.
- Stretch-and-folds build strength gradually, making your dough easier to handle and improving structure.
- Scoring guides the oven spring and helps the loaf expand in a controlled way.
- Using a Dutch oven gives you that enclosed-steam environment like professional bread ovens do.
- Temperature and timing matter more than rigid recipes; adjust by feel, not just clock time.
Timing and Outline (rough schedule)
| Stage | What You Do | Time / Notes |
| Feed starter | 4–8 hours before mixing | Ensure your starter is active and doubled. |
| Mix & autolyse | Combine flour + water + starter, rest | ~30 min |
| Add salt & mix | Incorporate salt gently | ~5 min |
| Bulk fermentation | Stretch + folds over time | 3–4 hours (room temp) |
| Preshape & rest | Form a loose shape, rest 20–30 min | |
| Final shaping & proof | Shape into boule/bâtard & proof | 1–2 hours (or cold retard overnight) |
| Bake | In a preheated Dutch oven | ~45-50 min total |